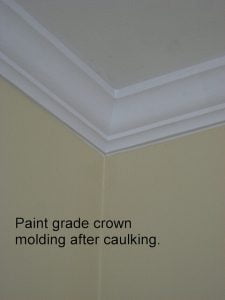
 Crown molding provides an exquisite finishing touch to any home. The ornate designs lend an atmospheric enhancement that is otherwise lacking in a standard room, but those same unique features can also make it difficult for you to complete a smooth paint job. Painting the molding in your Woodstock, GA home can be accomplished with a minimal amount of fuss as long as you adhere to a few basic principles.
Seal the Deal
Before you start painting, make sure that you check all of the corners and edges of your existing molding. If there are any areas that have cracked, pulled away from the wall, or are otherwise showing gaps, they need to be filled with a paintable caulk. Use your finger to smooth the surface rather than a mechanic device such as a putty knife to deliver the best results.
Tape
Never fear the use of tape, it is a quick and easy method to maintain crisp lines and leave that professional appearance that you desire.
Tape should be placed snug against the lines of the molding and wall or ceiling. This placement will prevent paint or primer from making its way into locations that are unintended, saving time, clean up and enabling you to achieve the amazing clean lines which are associated with a professional interior paint job.
Prime
When planning to paint your molding always prime the area first. This step is one of the quintessential factors in achieveing sleek and even coverage which truly makes the paint look its best.
Primer should be applied to the molding to unify to appearance of the finish. Each piece of molding and trim will have its own texture, but a base coat of primer helps make the textures appear smooth and uniform. It also provides a strong foundation for the paint to adhere to while filling in and smoothing small imperfections.
Paint
At this point, your crown molding is ready for its first of two coats of paint. Make sure you give the paint plenty of time to dry in between coats to ensure a hard and durable surface of years to come.

